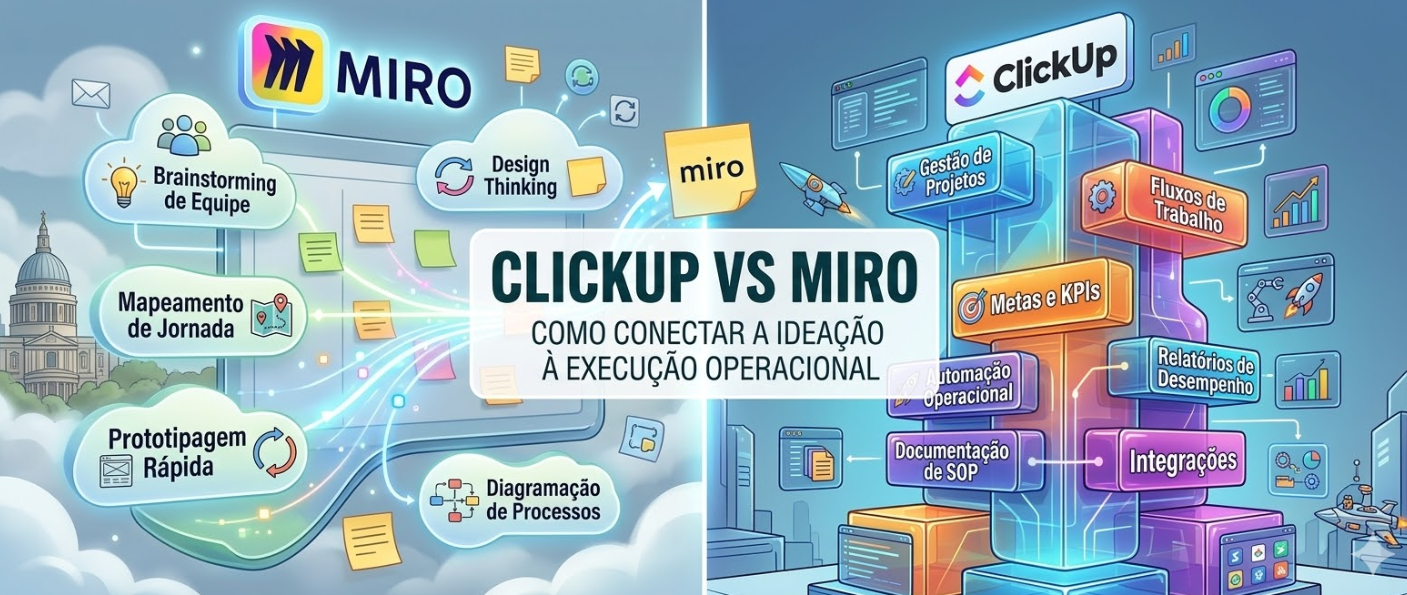
Innovation and execution are two sides of the same coin. Yet many teams treat them as separate worlds: the creative brainstorming happens on Miro, and the actual work happens somewhere else.
At Audatia, we help companies bridge this gap. In this article, we’ll explore how ClickUp and Miro complement each other, and more importantly, how to use them together to turn ideas into action.
Understanding the Purpose of Each Platform
Miro: The Collaborative Whiteboard
Miro is designed for ideation, brainstorming, and visual collaboration. It’s where ideas live—in mind maps, wireframes, user stories, and process flows. It’s perfect for the creative phase of any project.
ClickUp: The Work Operating System
ClickUp is designed for turning ideas into action. It’s where work gets planned, assigned, tracked, and completed. It’s the bridge between imagination and reality.
Why You Need Both (And How They Work Together)
Imagine this common scenario:
Your design team spends an afternoon on Miro creating wireframes for a new feature. The whiteboard is full of brilliant ideas. But then what? The wireframes sit on Miro while the development team uses a different tool to plan work. Designers reference the old Miro board. Developers don’t see the design evolution. Communication breaks down.
Now imagine this better version:
Your design team brainstorms on Miro. Once concepts are solid, you link to the Miro board from ClickUp. The development tasks reference the design mockups. Designers see the actual tasks being built. Developers see the design evolution. Everyone’s on the same page.
The difference? Using both tools as they’re designed to be used—ideation in Miro, execution in ClickUp.
The Ideation Phase: Miro’s Sweet Spot
Miro excels at several things:
1. Brainstorming Sessions
Unlimited canvas, infinite flexibility, and the ability to move things around instantly makes Miro perfect for brainstorming. Whether you’re in a room together or distributed across time zones, Miro lets everyone contribute.
2. Visual Design and Wireframing
Create wireframes, user flows, and mockups directly on Miro. The visual nature of the platform makes it perfect for design work.
3. User Story Mapping
Visualize user journeys and map out feature requirements in a way that’s easy for everyone to understand.
4. Process Mapping
Document workflows, system architectures, and business processes visually.
The Execution Phase: ClickUp’s Strength
Once ideation is done, ClickUp takes over:
1. Break Down Miro Concepts into Tasks
What started as a beautiful wireframe on Miro becomes a series of tasks in ClickUp. Feature implementation, design refinement, testing—all tracked.
2. Assign, Track, and Complete Work
Every task has an owner, a deadline, and a status. Everyone knows who’s doing what and when it’s done.
3. Maintain Visibility
Dashboards and reports show real-time progress. Leadership knows exactly where things stand.
4. Automate Repetitive Tasks
Use ClickUp’s automation to move tasks through stages, assign reviews, and trigger notifications.
Connecting Miro and ClickUp: A Practical Workflow
Here’s how to link ideation and execution seamlessly:
Step 1: Design on Miro
Your team collaborates on Miro. Create wireframes, user flows, and visual designs. As you finalize concepts, note which Miro elements will become actual tasks.
Step 2: Link Miro Board to ClickUp Task
In ClickUp, create a task for the feature or project. In the task description, embed a link to the relevant Miro board:
“`
Feature: User Dashboard
Miro Board: [Link to Miro board with dashboard wireframes]
Design Mockup: [Link to specific board]
Status: In Progress
“`
Step 3: Break Down Miro Concepts into Subtasks
For each element on the Miro board, create a subtask in ClickUp:
– Subtask: Create login form component
– Subtask: Implement dashboard layout
– Subtask: Add user data visualization
– Subtask: Test responsiveness
Step 4: Link Tasks Back to Miro
As work progresses in ClickUp, update the relevant Miro board to reflect what’s actually being built. Use Miro’s comments to reference the ClickUp task where the work is being tracked.
Step 5: Automate Notifications
Set up ClickUp automations or Slack integrations so that when a design-related task is completed, the Miro board is updated or a notification goes out to the design team.
Integration Best Practices
1. Create a Miro-to-ClickUp Template
For projects that follow a similar pattern (e.g., new feature development), create a ClickUp template that includes:
– A link to the Miro brainstorming board
– Standard subtasks that break down common Miro elements
– Assigned owners from design and development teams
2. Use Custom Fields for Traceability
In ClickUp, add a custom field called “Miro Board Reference” that links back to the design whiteboard.
3. Establish Clear Handoff Criteria
Define when a design on Miro is “ready for development.” This prevents unnecessary back-and-forth and keeps work moving.
4. Synchronize Status Across Tools
When a design in Miro is finalized, mark the corresponding ClickUp task as “Design Approved.” When development starts, update both tools.
Real-World Example: Product Development Cycle
Let’s walk through a realistic scenario:
Week 1: Ideation (Miro)
The product team meets on Miro to brainstorm a new reporting feature. Over three days, they create:
– User journey maps showing how users will interact with the feature
– Wireframes of the reporting dashboard
– Data flow diagrams showing how data will move through the system
Week 2: Planning (ClickUp)
Based on the Miro wireframes, the project manager creates ClickUp tasks:
– Design the dashboard layout (Designer)
– Create API endpoints for report data (Backend Developer)
– Build the visualization components (Frontend Developer)
– Write tests for the feature (QA)
Each task links to the relevant Miro board for context.
Week 3-4: Execution (ClickUp)
The team executes the work in ClickUp. As blockers arise, the team references the Miro board for context. If the design needs adjustment, the designer updates the Miro board, and the development team sees the change through the linked task.
Week 5: Testing and Refinement (Both)
QA finds issues. The team uses Miro to visualize the bugs and their fixes. The fixes are tracked as tasks in ClickUp.
Week 6: Deployment (ClickUp)
The feature is deployed. The Miro board is marked as “Complete” and filed away as documentation. All the work that was done is documented in ClickUp.
Pricing Consideration
Miro:
– Free plan available
– Standard plan: $10 per user per month
– Business plan: $16 per user per month
ClickUp:
– Free plan available
– Unlimited plan: $7 per user per month (billed annually)
– Business plan: $12 per user per month
Combined cost is reasonable for the value you get—a tool for ideation (Miro) and a tool for execution (ClickUp).
Common Mistakes to Avoid
Mistake 1: Ideas Live on Miro, Execution Lives Elsewhere
If your team uses Miro for ideation but doesn’t connect it to your execution platform, you’re losing valuable context. Always link them.
Mistake 2: Over-Relying on Miro for Execution Tracking
Miro is great for visual collaboration, but it’s not designed for task tracking. Don’t try to make it do what ClickUp does.
Mistake 3: Duplicate Information
Maintain a single source of truth. Don’t have the same requirement documented in both Miro and ClickUp. Link them instead.
Mistake 4: Not Closing the Loop
When work is completed, update both tools so that future teams understand what was ideated and what was actually built.
Audatia’s Recommendation
For organizations that need both creative ideation and rigorous execution:
– **Use Miro** for brainstorming, design, and visual collaboration
– **Use ClickUp** for planning, tracking, and managing work
– **Link them** so that ideas flow seamlessly into execution
This combination gives you the best of both worlds: the creative freedom of Miro and the operational rigor of ClickUp.
Getting Started
1. Set up a Miro workspace for your team’s ideation
2. Create ClickUp lists for project execution
3. Develop a linking strategy (custom fields, description links, etc.)
4. Train your team on when to use each tool
5. Establish a handoff process from ideation to execution
The result? Ideas that actually become reality, teams that understand the full context of their work, and a clear connection between imagination and action.
Ready to bridge ideation and execution? Let’s start today.